How to create exam requests
In this section we describe different ways of getting exam requests into Exam
.png)
Manually create exam requests
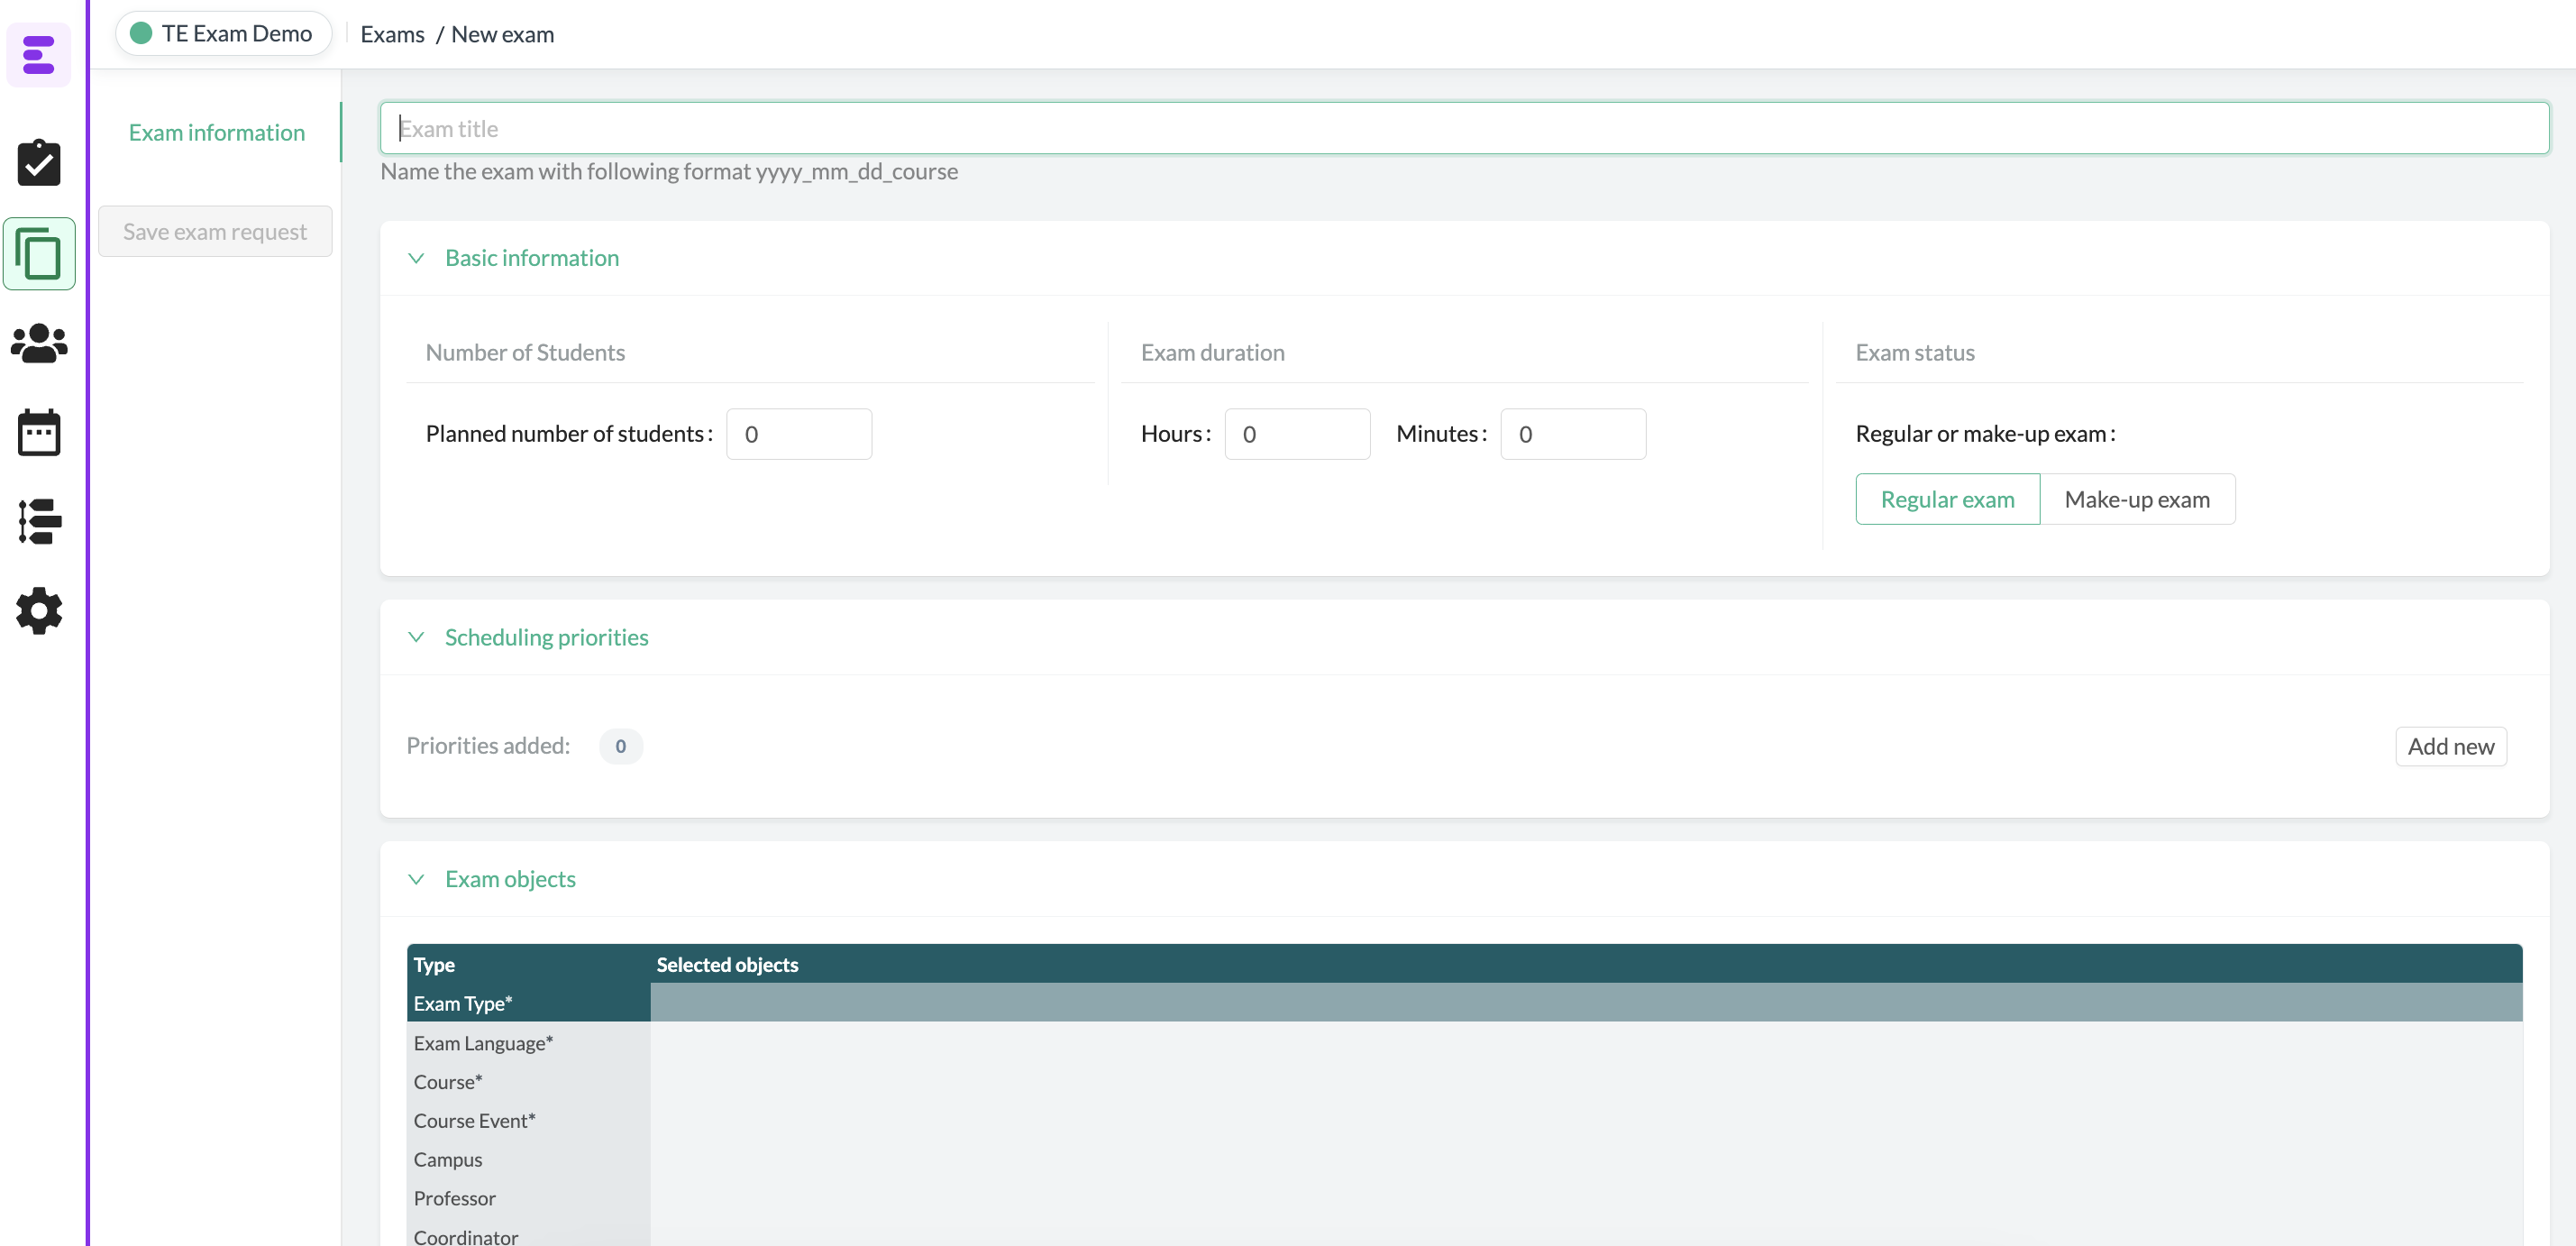
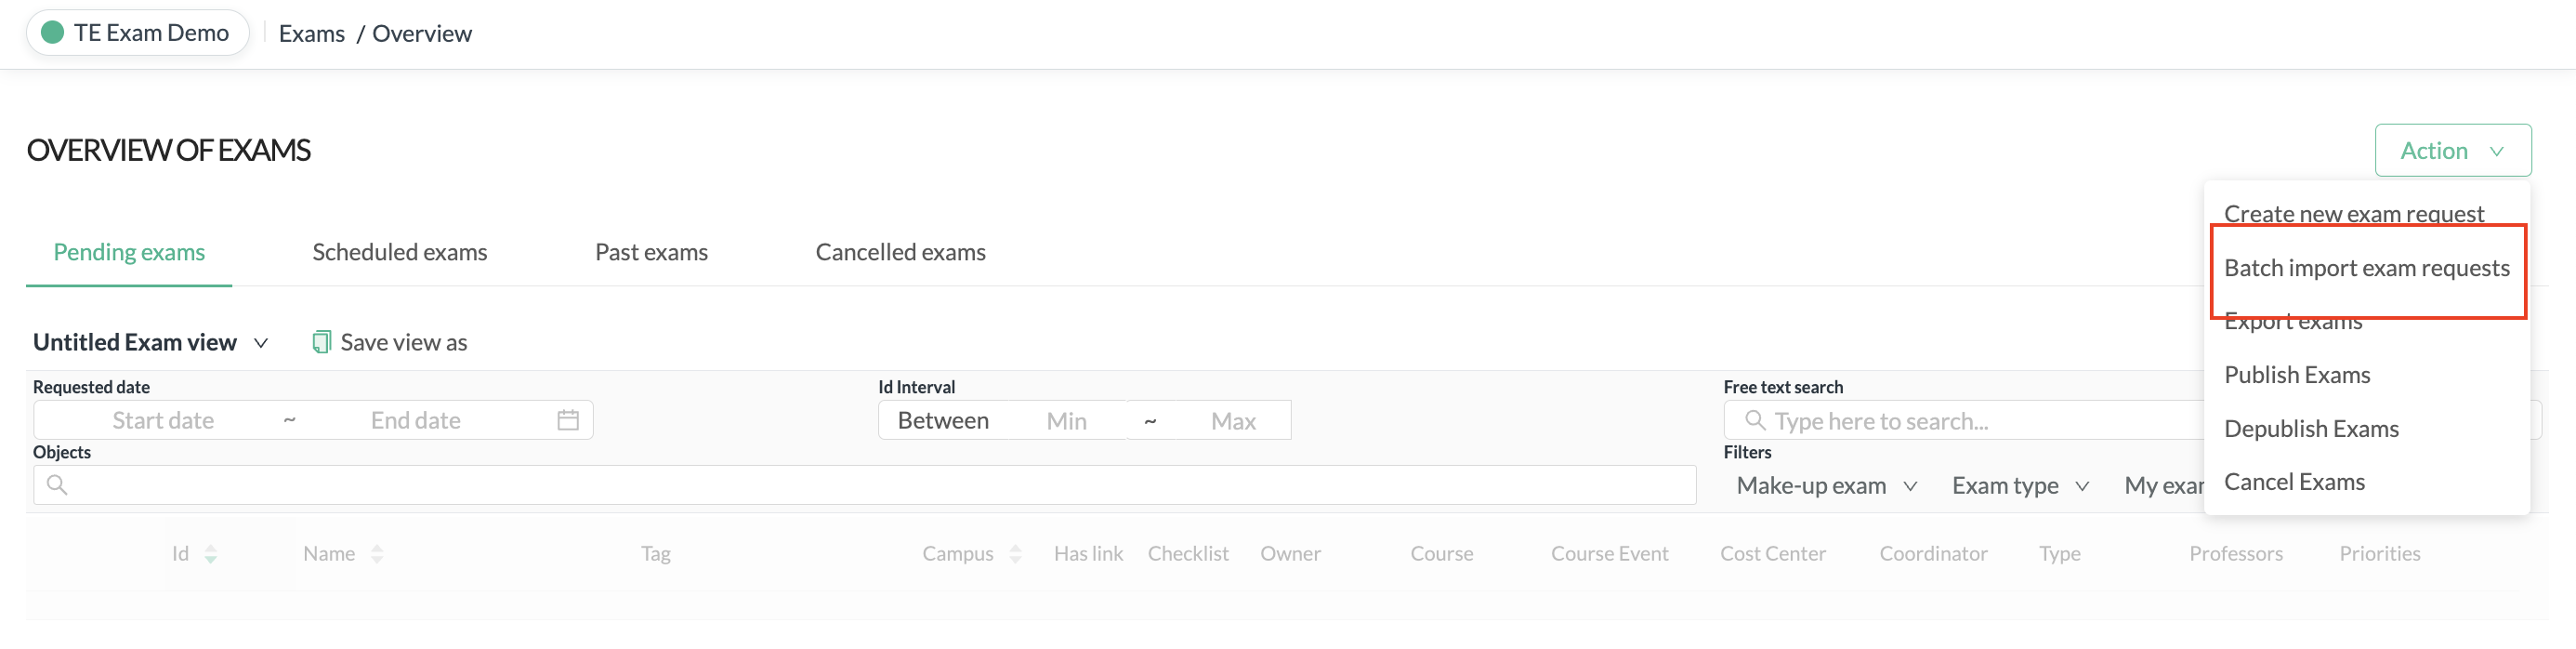
On the exam overview page there's a action button on the top right. Click on that and a form will now appear.
You can choose whether you want to give the request a name of your own. It is not mandatory and if you opt out, the request will receive an automatically generated serial number.
We recommend customers to give their request their own names. They will then be easier to find both for the client themselves and for the person who will later schedule the exams.
Example: Initials of the client - Course event - date/date range
Basic information
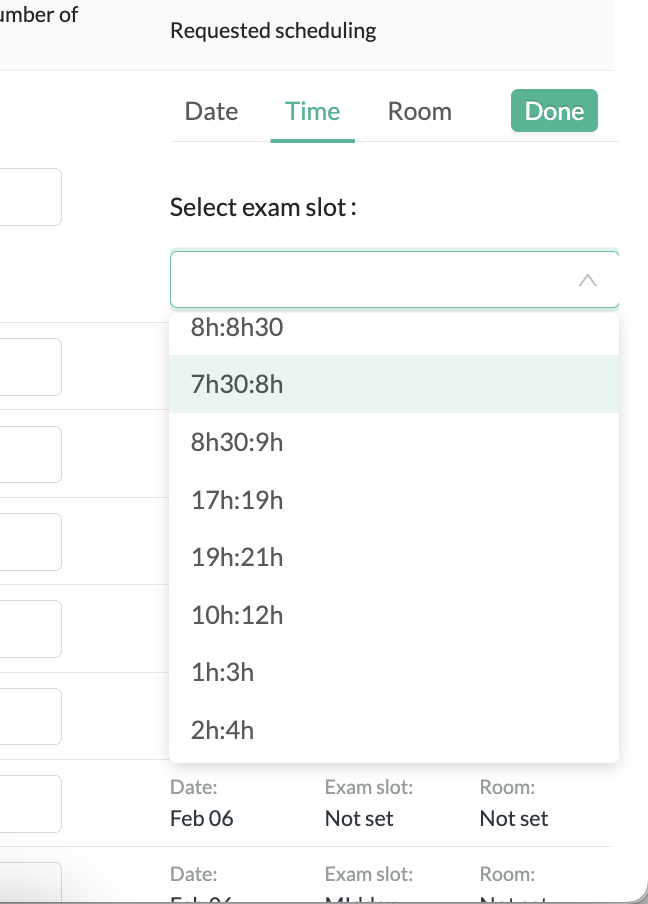
Fill in the estimated number of students, the length of the exam in hours and minutes, and whether it is a regular exam or re-exam
- Select preferred Scheduling priorities (you must always select at least one schedule priority to be able to save the request)
- Add prioritized date
- Exam slot/Time intervals - from your settings.
- Room
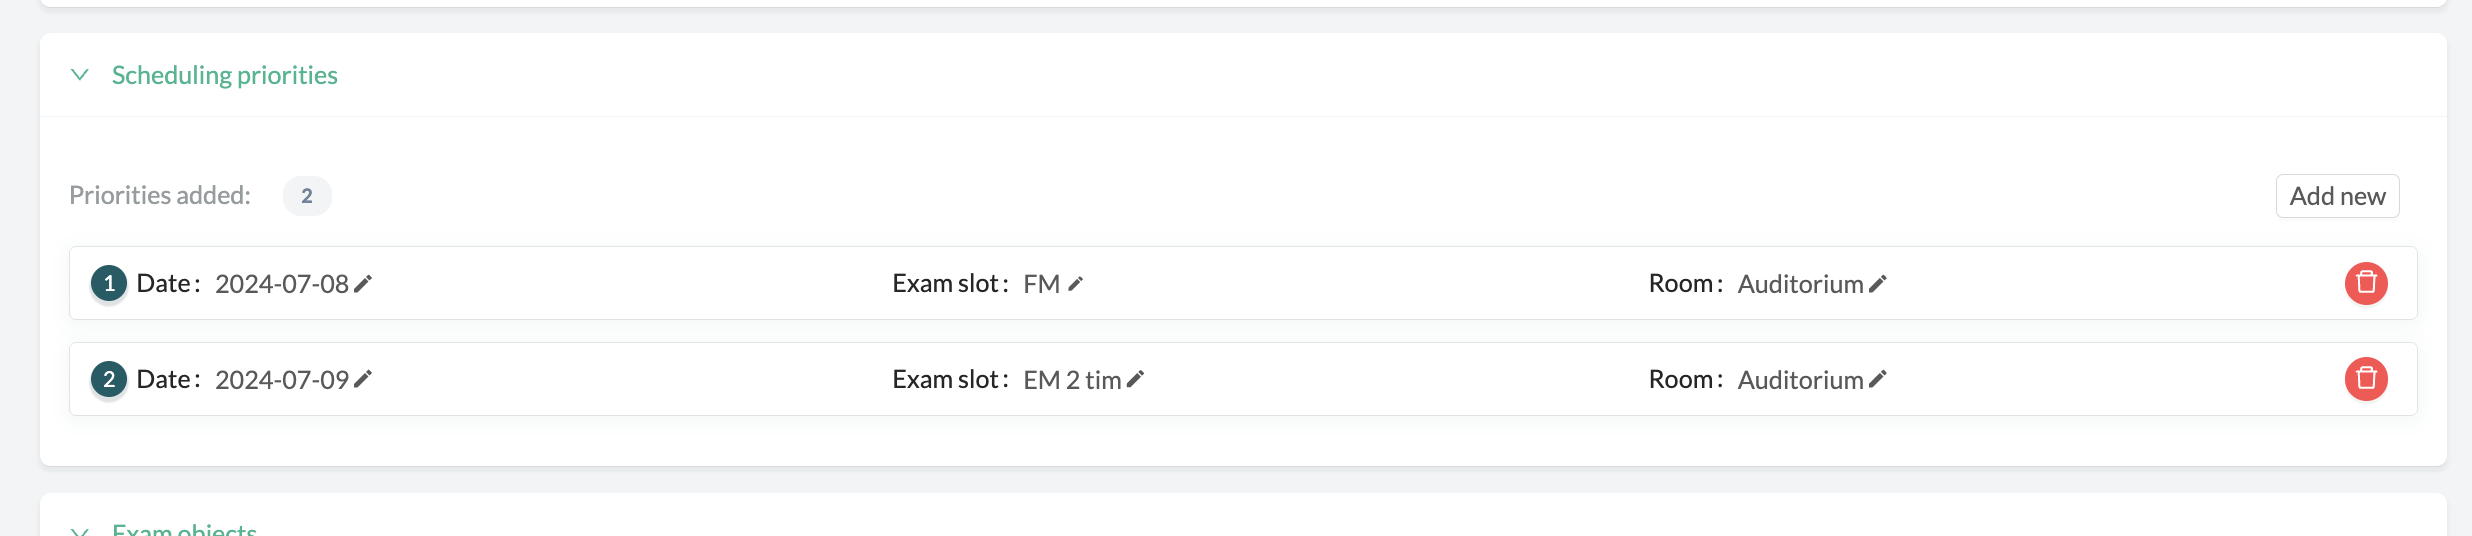
In order to save the request the number of priorities must follow the settings you made under Exam settings.
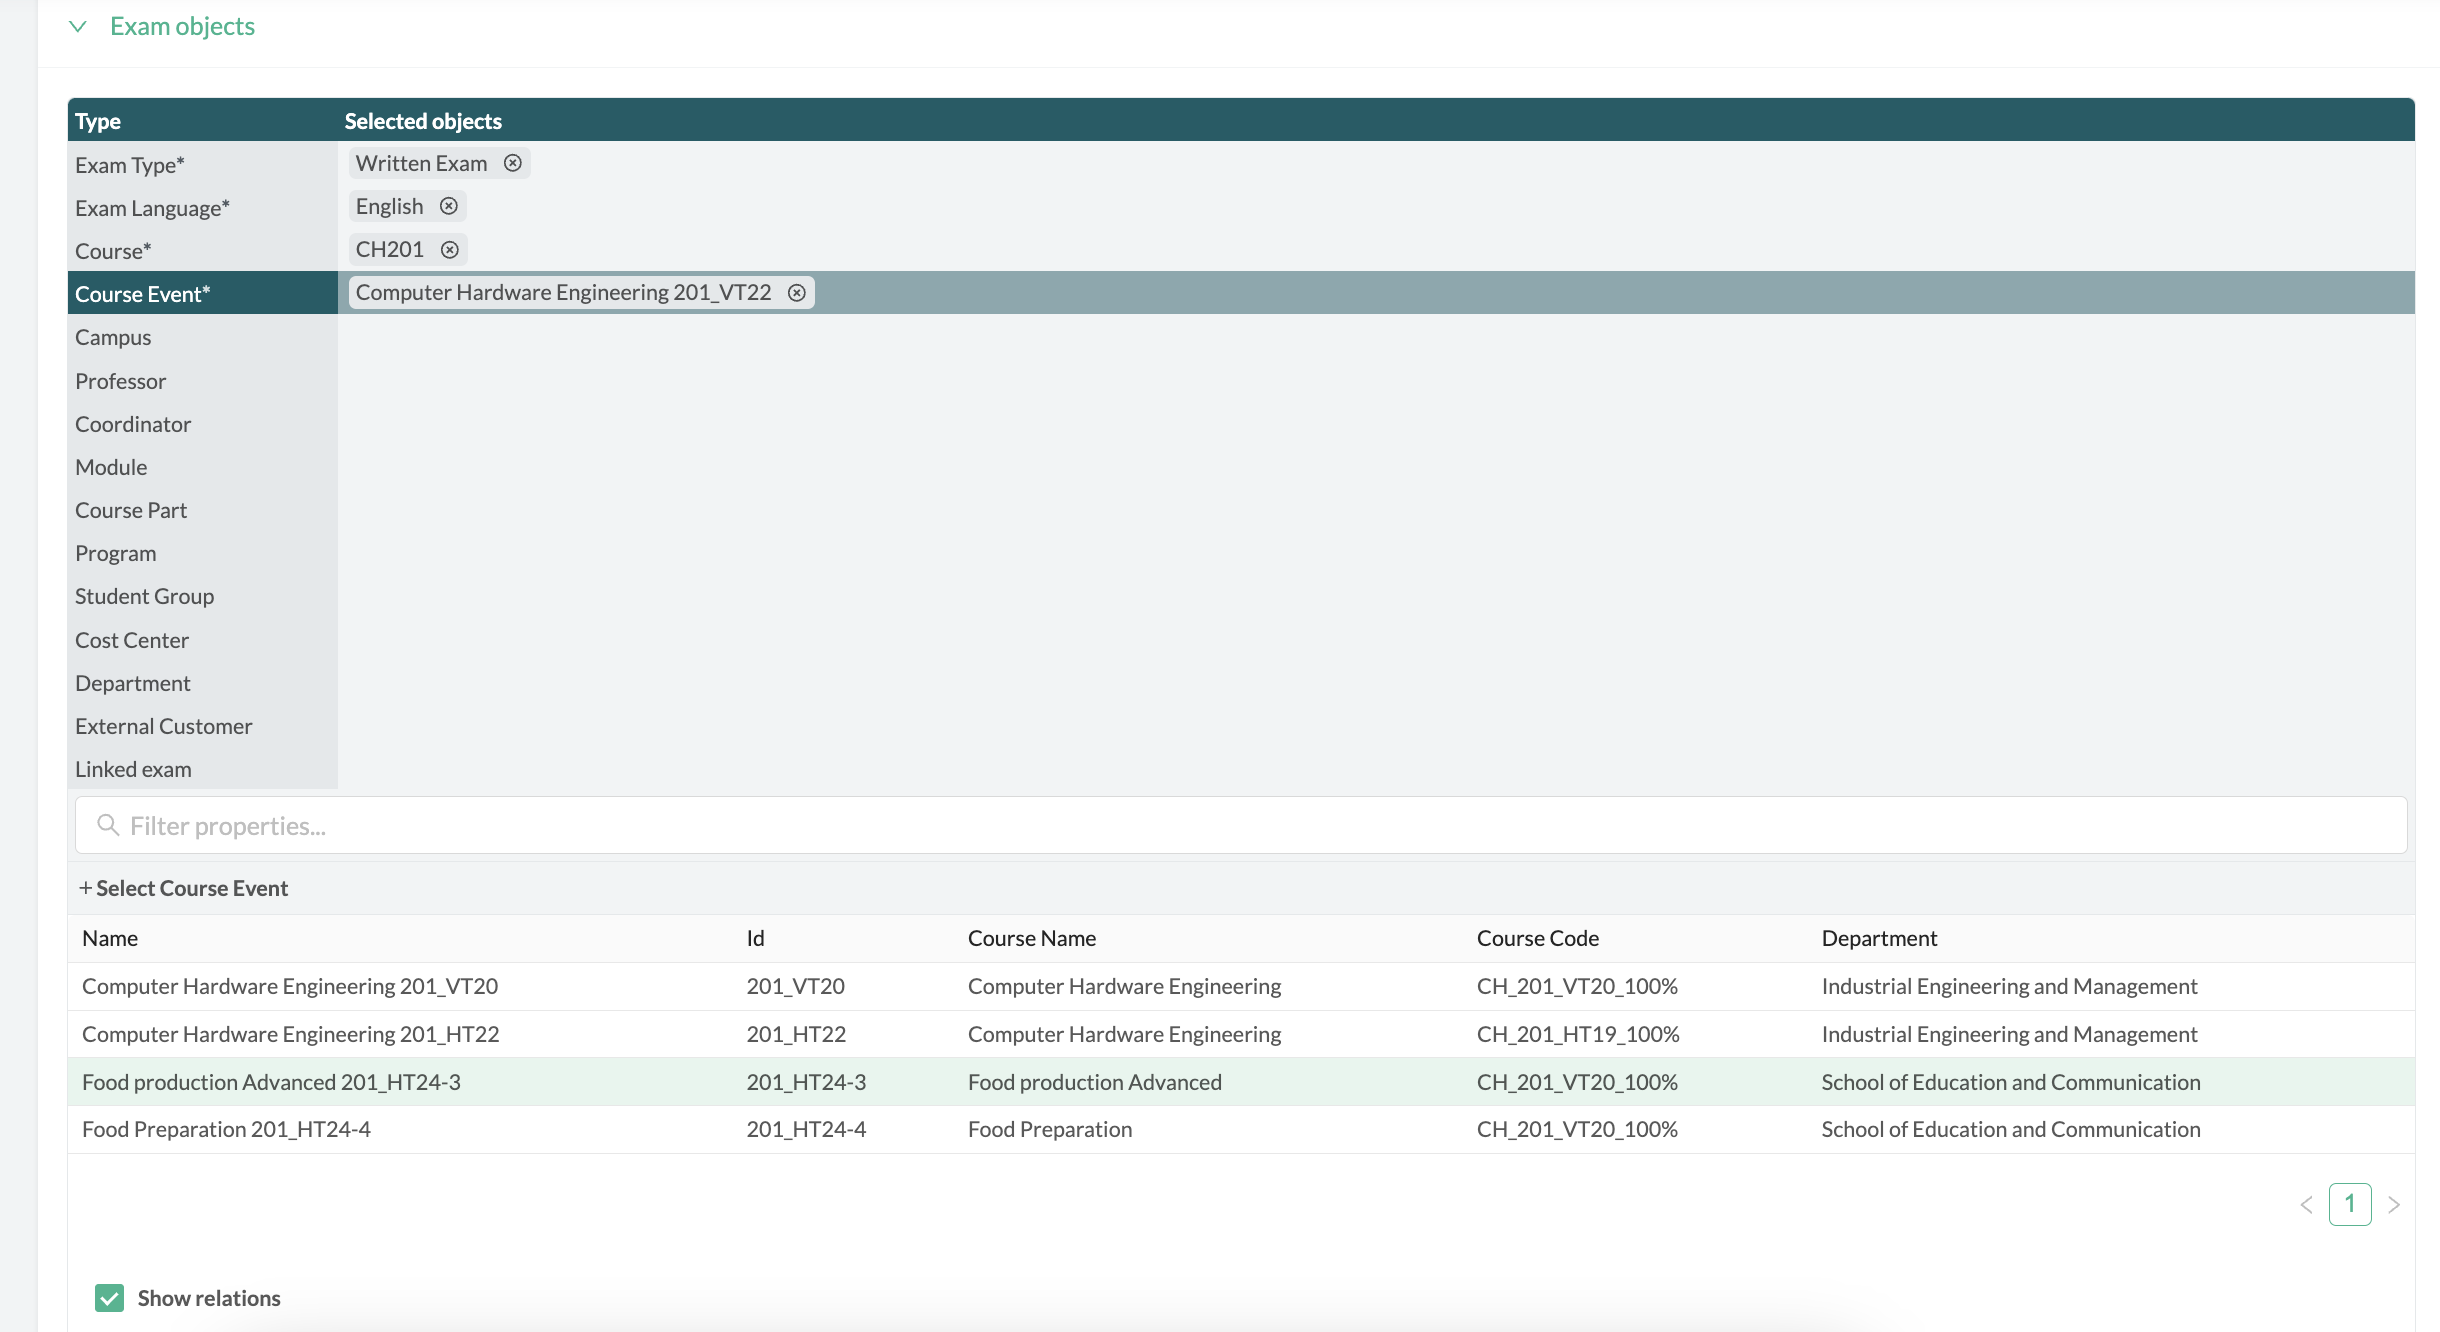
- Fill in the exam objects (Course, teacher, activity occasion, cost centre, etc.) What is mandatory to include in the request is a setting made under Settings → Exam Settings.
- Linked exam is used if two exams must be scheduled together.
- Fill in any additional information such as comments for students, invigilators or administrators
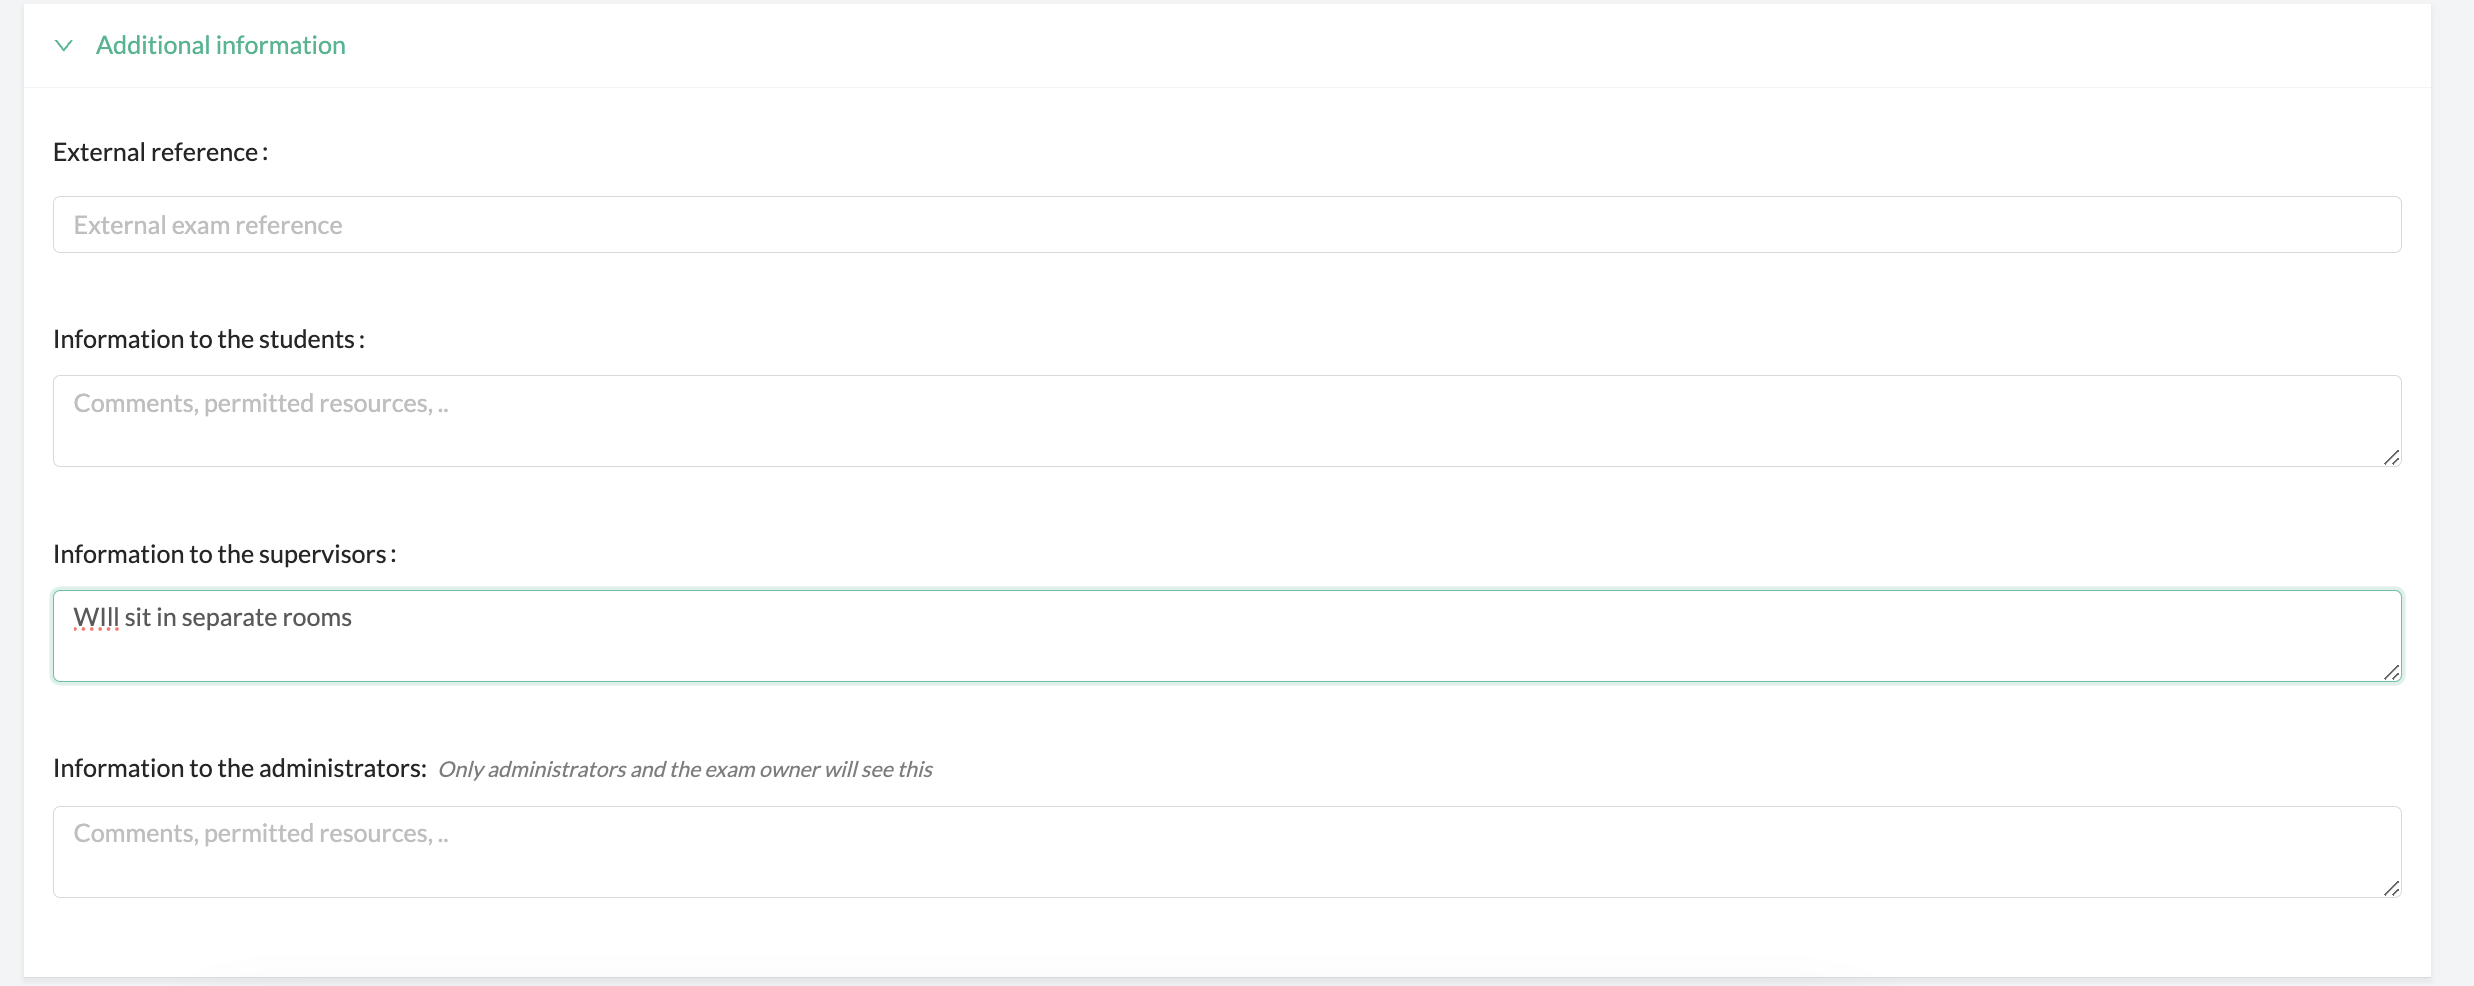
Save the request in the left menu panel
Import exam request by file (excel)
- Go to Create exam overview and hit Actions
- Choose to import request by batch
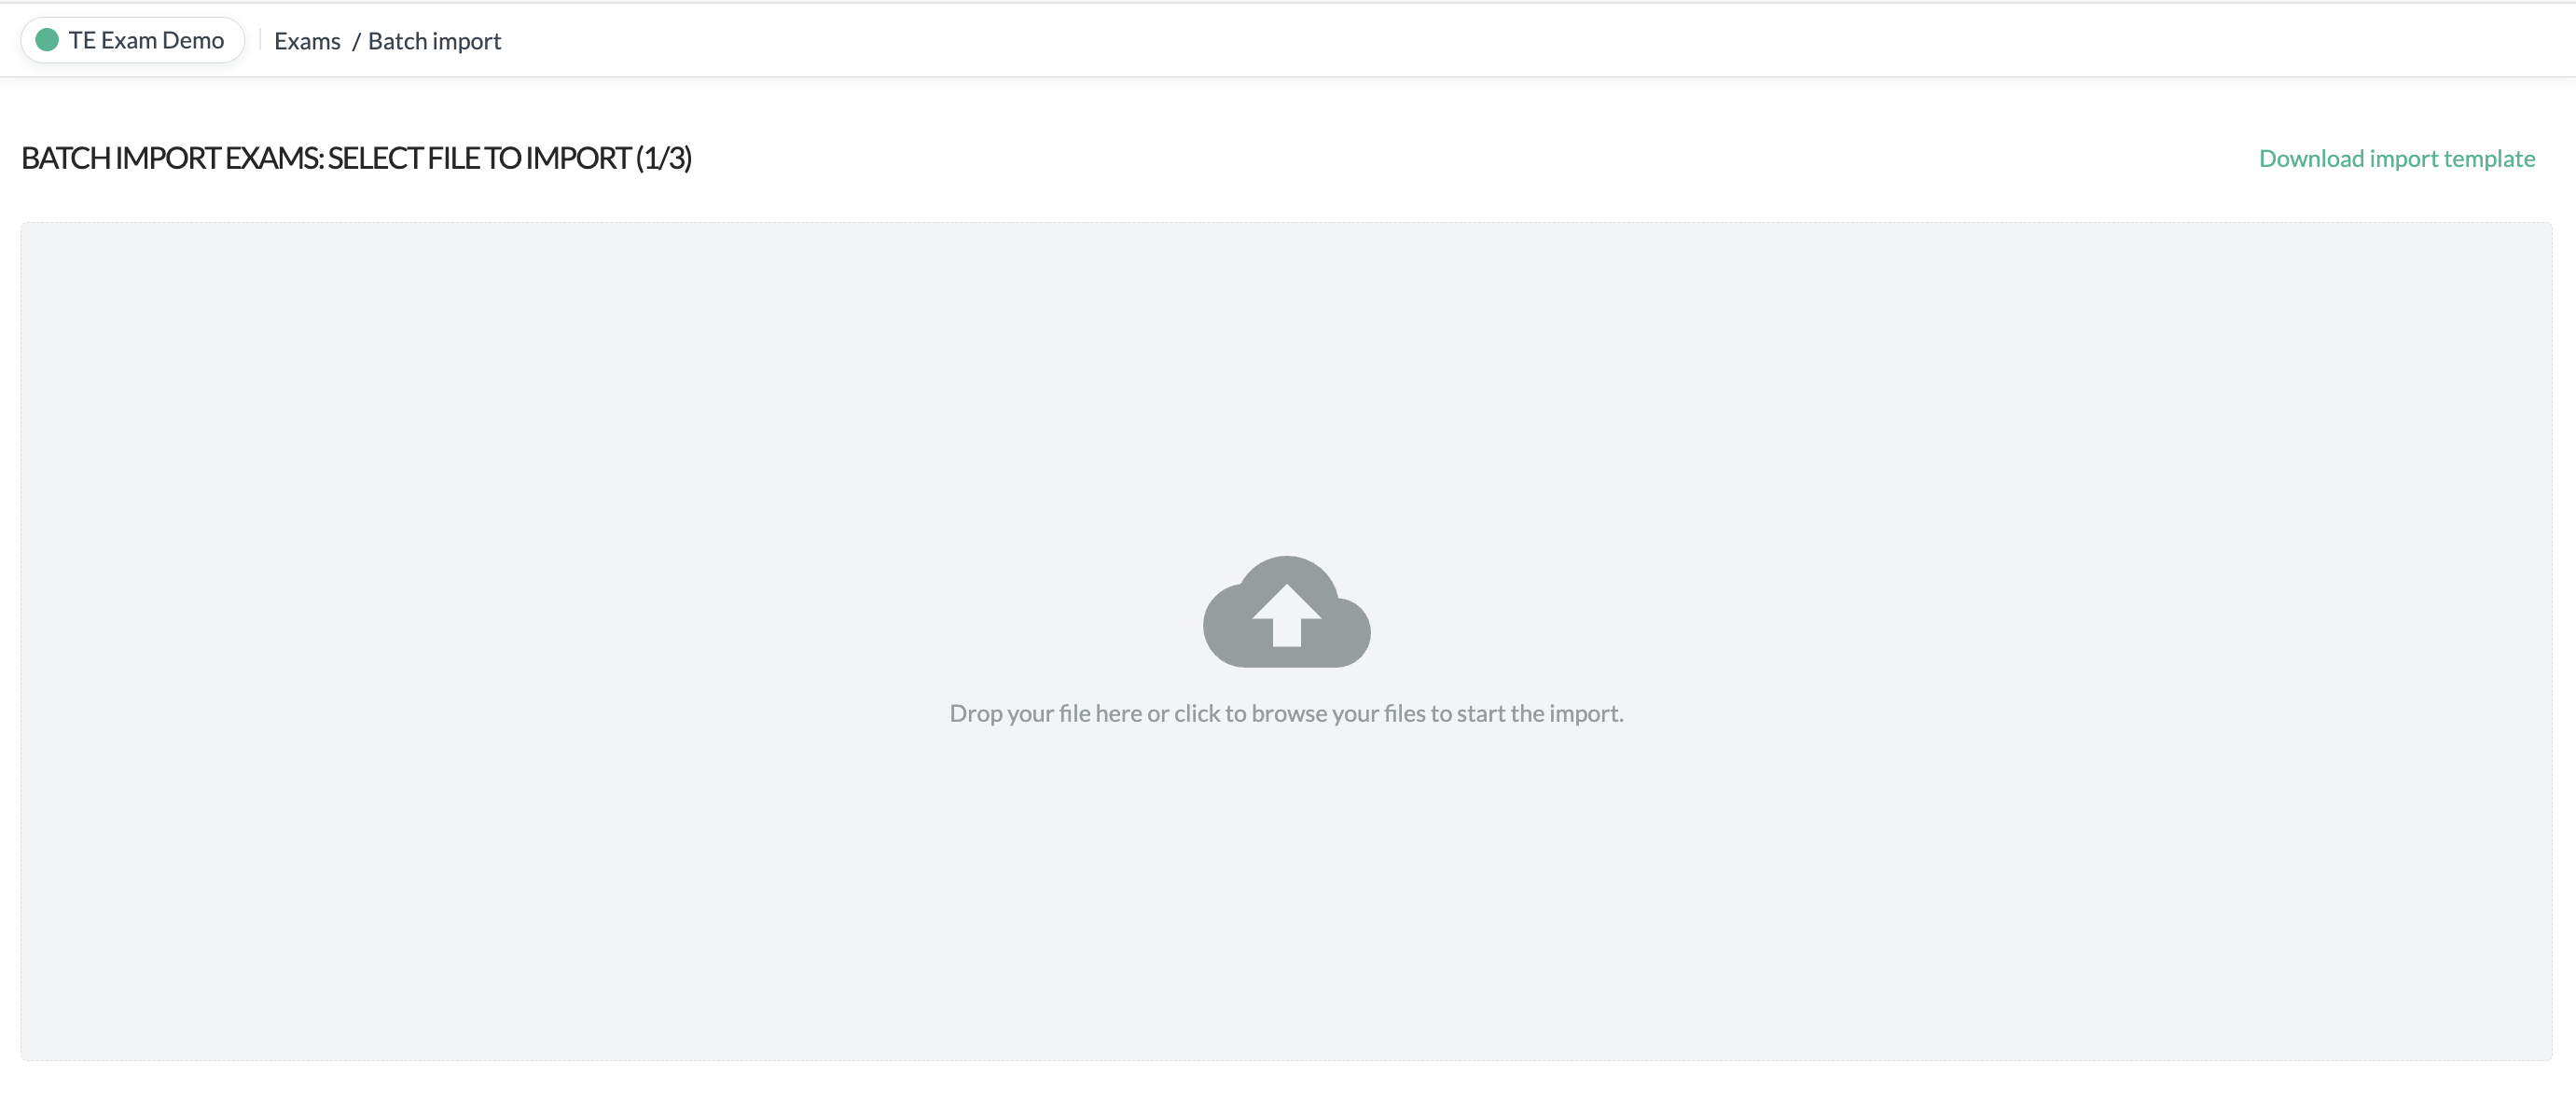
In this view you can download a template to fill in your exams, once you configured that file then you can easily drag n drop till in the view - be sure that all mandatory objects from exam settings is contained in the file.
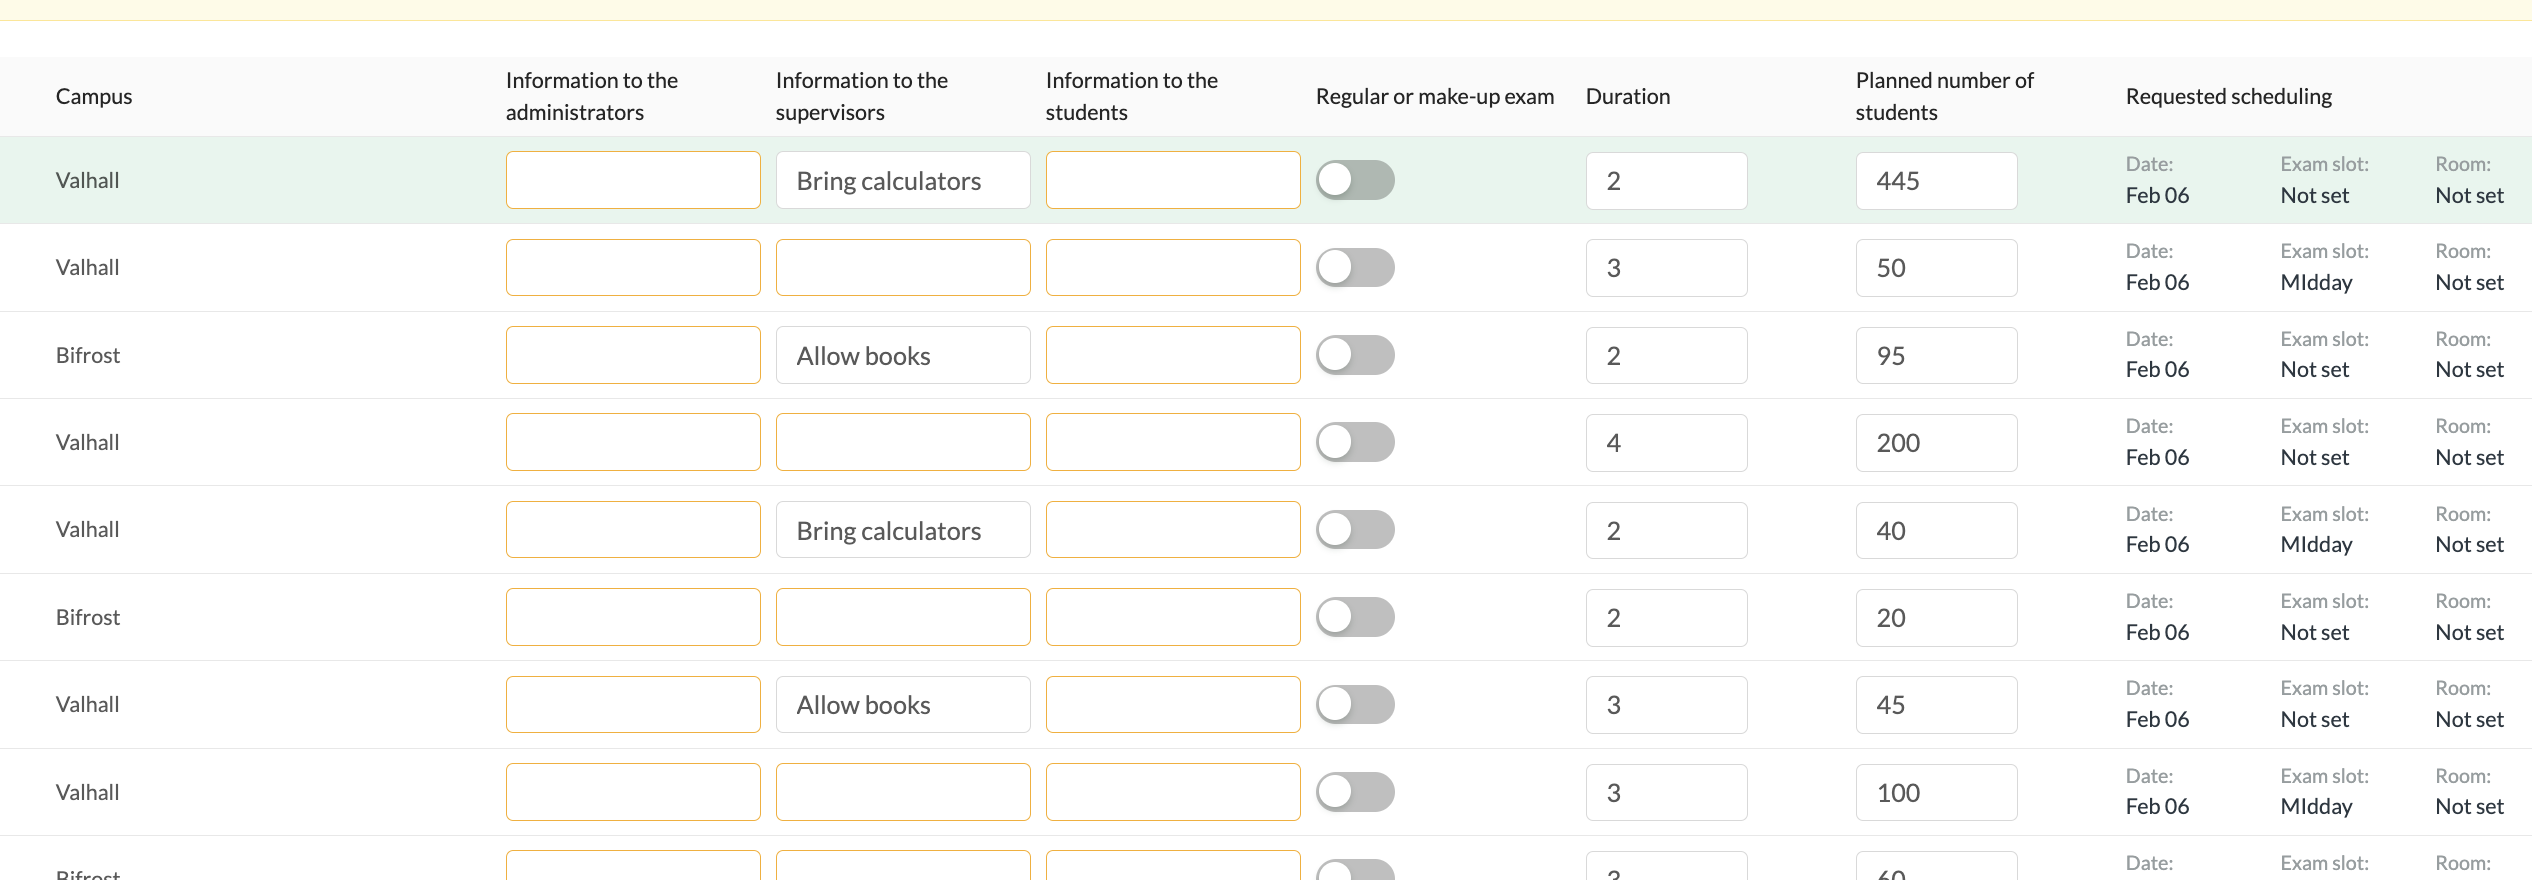
If you matched all headers in the file correctly then all fields should be filled out automatically, but if there are som issues in the file you will receive information about that and you can also see in the table which rows and columns that are N/A
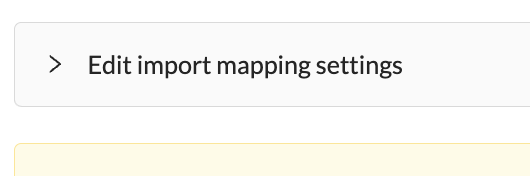
If there are errors you can map them if you click on "Edit import mapping settings" - here you can adjust all mapped fields to find the value that you put into your import file.

You can also edit all lines in the import manually by clicking the "+" sign on each row.
In the far right of the import template you also can adjust priorities and selections.
When you’re done and satisfied with your import , click Save Import
Create request by plug-in in Core
Create single requests
When you want to make an exam request from Core, you right click at the reservation and press “create exam request”. To be able to do that the reservation could not contain a room (because all exam rooms are handled in TE Exam).
When you press “create exam request” TE Exam pops up and you need to log in with your TE Exam credentials. Here you need to fill in the things that are mandatory to add in TE Exam. In this case it’s Number of students and Exam type. You can also change the name of the exam.
All fields can be mapped in settings to get them prefilled in the plugin.

When you press that button the reservation in Core gets an Exam ID. With this ID you can follow the exam in TE Exam. The Reservation ID in Core stays the same.
Create Exam request in Batch
In order to send request from Core to Exam in batch it's important that all mandatory and necessary fields are mapped correctly in settings, otherwise you need to adjust each reservation manually
Create your exam reservation the same way as you do for single request, but instead of right click on each reservation now you can create (or import) all exam reservations before you send them to Exam.
Once you created all your exam reservations in Core you can now go to the reservation list for the exam scheduling template you have used for scheduling. In the reservation list you can do additional filtering to adjust the list to get your exam reservations.
Now you can select all rows and right click on one of them and then choose create exam request.
You will now get to the pending list in the plugin for all reservations you choosen, and you can see which rows needs attention by the status column. Here you can also filter out the reservations that are ready to submit and manage the once that needs attention later in the actual reservation.
You can also edit each row manually by opening up the regular plugin meny.
When you are ready, select the rows you want to create and press "Send to Exam"