How to Configure Teaching Periods in Preferences
For forms with extended periods covering an academic year or semester, dividing the year into smaller teaching periods ensures accurate week selection for specific course instances. Here's a comprehensive guide on how to set up Teaching Periods within Preferences. This feature is only available on our v.3 platform.

In Form Designer
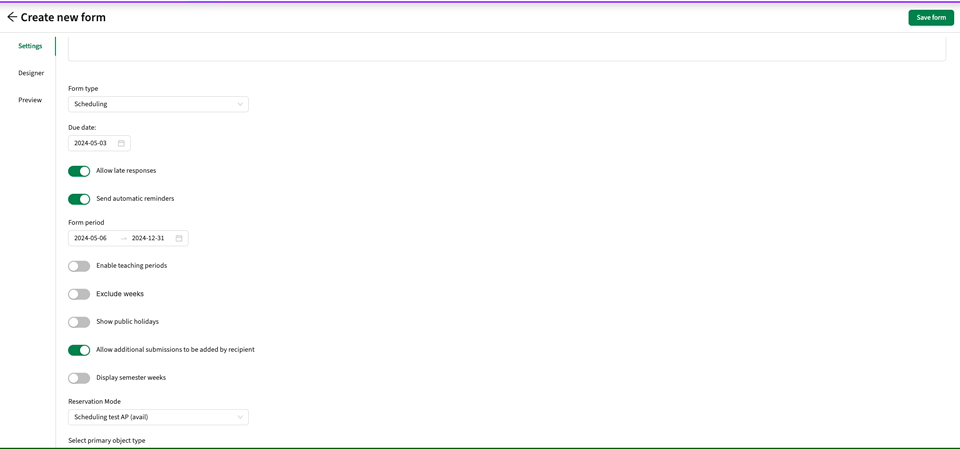
Teaching periods can be configured in the settings page when creating a new form. Begin by establishing the general form period; only weeks within this period can be used for configuring teaching periods. Follow these detailed steps:
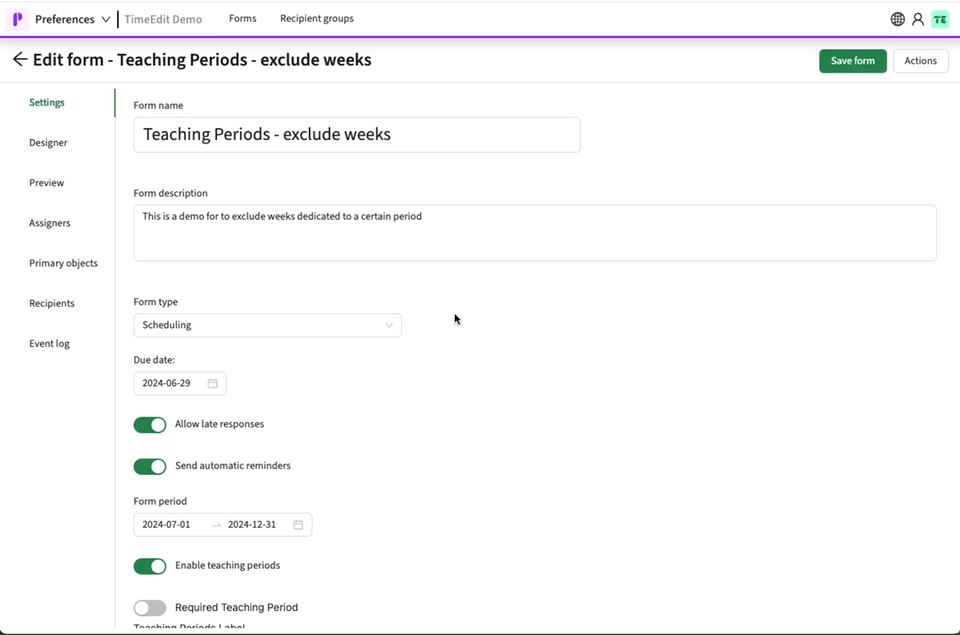
- Enable Teaching Periods: Toggle the "Teaching Periods" option to enable this feature.
- Assign Label: Assign an appropriate element label to the teaching period section. This label will serve as the header in the submitter view.
- Provide Description: Offer clear and informative element descriptions for the teaching periods. The description will be accessible to the submitter via an "?" icon, helping them understand the purpose of this selection.
- Make Required: Toggle on the "Required teaching period" to make this information mandatory for the submitter
- Add New Teaching Period: Click on the "Add New Teaching Period" button to begin configuring a new period.
- Select Date Range: Choose a suitable date range within the general form period for the teaching period.
- Assign Names: Give a descriptive name to each teaching period to distinguish it from others.
- Repeat as Needed: Add as many teaching periods as necessary to accommodate the form's requirements.
Exclude weeks from a teaching Period
Excluded weeks can be connected to a specific teaching period by following these steps:
- Exclude Weeks: Toggle on the option on the settings page to exclude weeks.
- Select Weeks: Select which weeks should be excluded and add a comment explaining why these weeks are excluded.
- Link to Teaching Period: Connect the excluded week to a specific teaching period by selecting the teaching period from the dropdown menu.
Multiple excluded weeks can be linked to the same teaching period, but the excluded weeks must fall within the teaching period.
In Form Submission
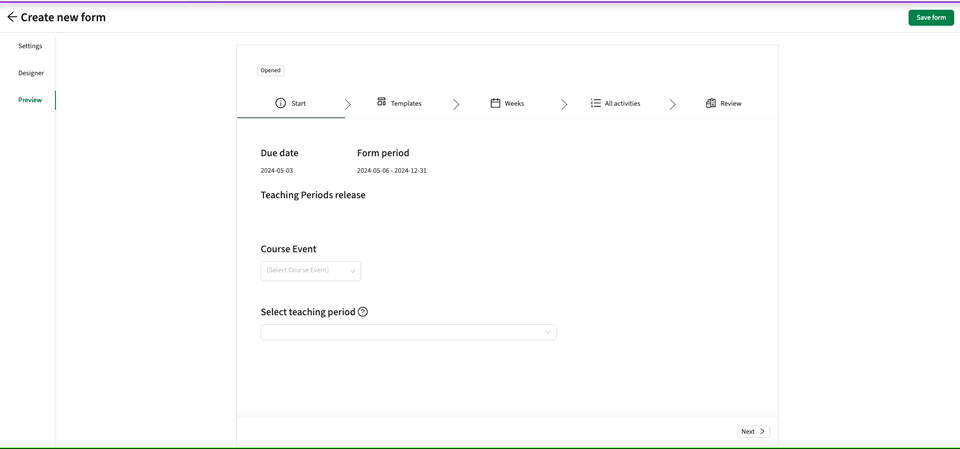
Once Teaching Periods are enabled and configured in the Form Designer, they become available to the form submitter on the start page. Here's how they function during form submission:
- Selection Process: Submitters will encounter the configured teaching periods in a dropdown menu on the start page. They can select only one teaching period per submission.
- Filtering of Dates: Upon selecting a teaching period, subsequent steps in the form-filling process will display only the corresponding weeks or dates. For instance, if Semester 1 covers weeks 1-12, only those weeks will be available in the weeks tab; the rest of the year will be disabled.
- Changing Teaching Period: If activities have been added and the submitter changes the teaching period, all activities outside the new period will be validated, and the form won't be possible to submit until the activities have been moved to fit within the period.
- Mandatory Information: The teaching period is mandatory information by default and will be required before submitting.
This feature significantly aids submitters in selecting the correct weeks, thereby enhancing data quality and streamlining the form submission process.