How to customize schedule views
TE Viewer's schedule and resource views offer a multitude of customization options. This guide will give you an overview the available options, as well as how to save personal shortcuts in addition to updating the default view.

Text and graphical views
You can choose to display schedules using either a text or graphical version. To switch between them, use the button at the bottom right of the screen.
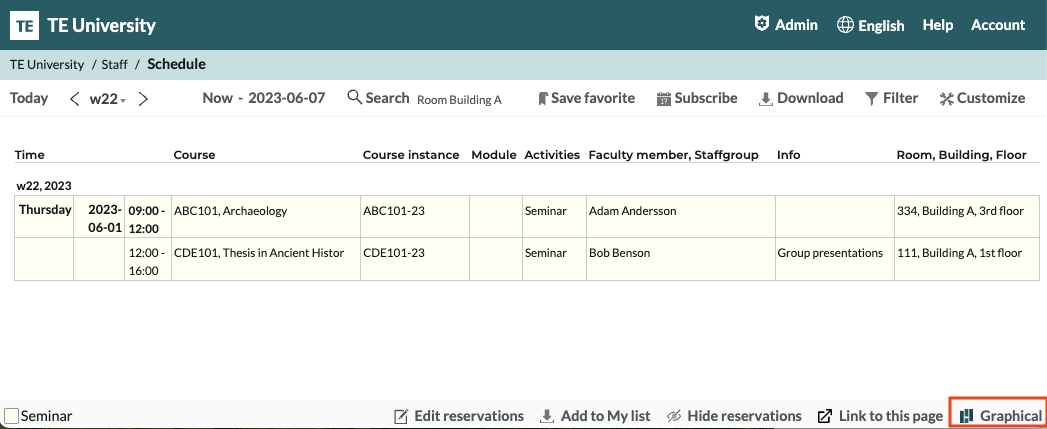
You can choose to save one of them as the default or simply switch back and forth at any time.
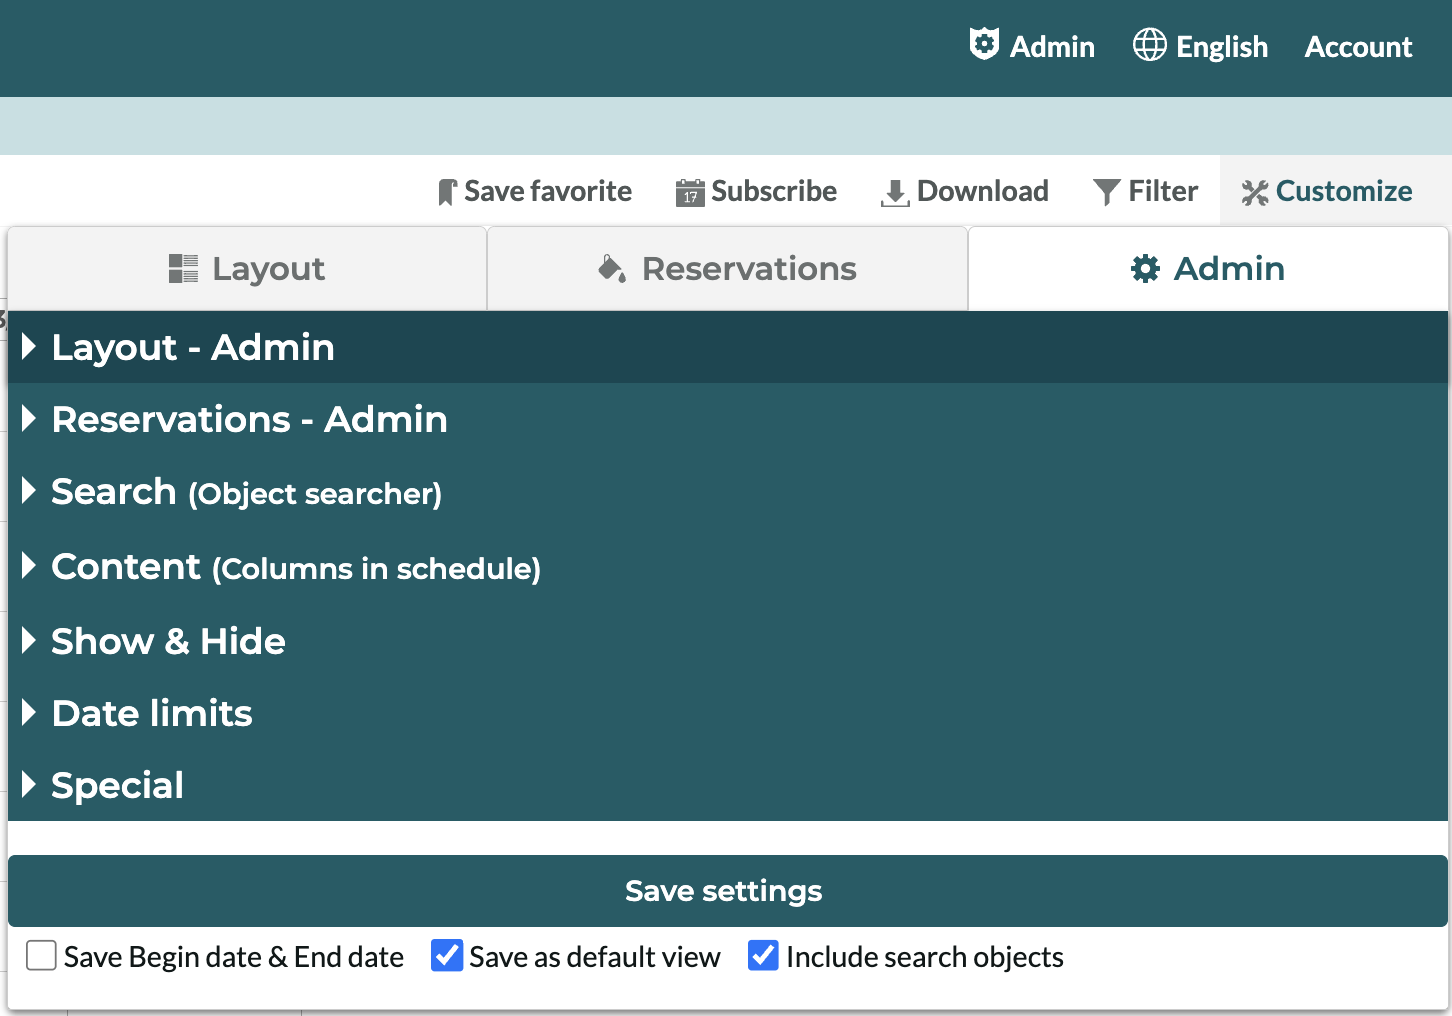
If you want to save the current viewing option as the default, go to Customize at the top right, navigate to the Admin tab and click on Save settings at the bottom of the tab.
Options under Layout
In the Customize --> Layout tab, you can find a number of options to configure how your schedule should be structured and grouped, time frames, as well as date and time formats.
Some example options are:
- General page layout: sets how you want to group your reservations, e.g. by date, week, or month
- Hide empty weeks: if checked, the schedule will not show weeks with no reservations
- Horizontal scroll: if enabled, the schedule will be lined up side by side rather than sequenced vertically. You can then scroll horizontally throughout your entire time frame.
- Relative start and end: Only display reservations with a time relative to current time +/- x minutes. This is useful for when you only want to put focus on the upcoming or ongoing activities rather than historical ones.
You can also read more about the available settings by hovering over the info icon, when available, next to the option title.
Common options under Reservations
In the Customize --> Reservations tab, you can find a number of options to configure how reservations should be presented in your view, by setting for example to color code reservations, which order the information fields should be listed, and font sizes.
Some example options are:
- Color by: you can choose to color code by e.g. course or availability, or to make the schedule black and white.
- Visible information: this configures which field(s) to display for each reservation in the graphical schedule, and in which order, by dragging and dropping the available fields and checking which ones to display. The first item will be displayed in bold.
- Show additional reservations -> Cancelled reservations: will display reservations that have been cancelled. The amount of time after cancellation that a reservation is shown is set under Customize -> Admin -> Reservations - Admin -> Reservation updates -> Show cancelled reservations.
You can also read more about the available settings by hovering over the info icon, when available, next to the option title.
Exporting the schedule
There are a a number of different export options available under Download in the top right menu. You can export the schedule as a PDF, Excel, CSV, or text file.
The Download menu is also here you will find the Fullscreen viewing option. This view is useful when you want to have a view-only schedule to give full focus to the schedule content.
Saving as default view
When setting up your views, in order to save the end results and make them applicable to all users, you need to save your changes using the Save settings button at the bottom of the Customize -> Admin tab.
What will be saved as defaults in the view is also decided by which options you have checked in the section just below the Save settings button:
- Save Begin date and End date will save the settings set under Customize -> Admin -> Date limits as the default settings for the date and period picker.
- Save as default view will save all settings except for the Date limits as the view default.
- Include search objects will include your current search results as the default results shown when first navigating to the page, with the search query pre-filled.
Personal shortcuts
If you want to save your current view setup, including the search results, for personal use, you can use the Save favorite button in the top right menu. This will save the current search results and other view settings you have configured as a favorite - or shortcut.
Your saved favorites can be found by opening the Search section, at the bottom left. Simply click on the favorite to load its viewing options and/or search results.
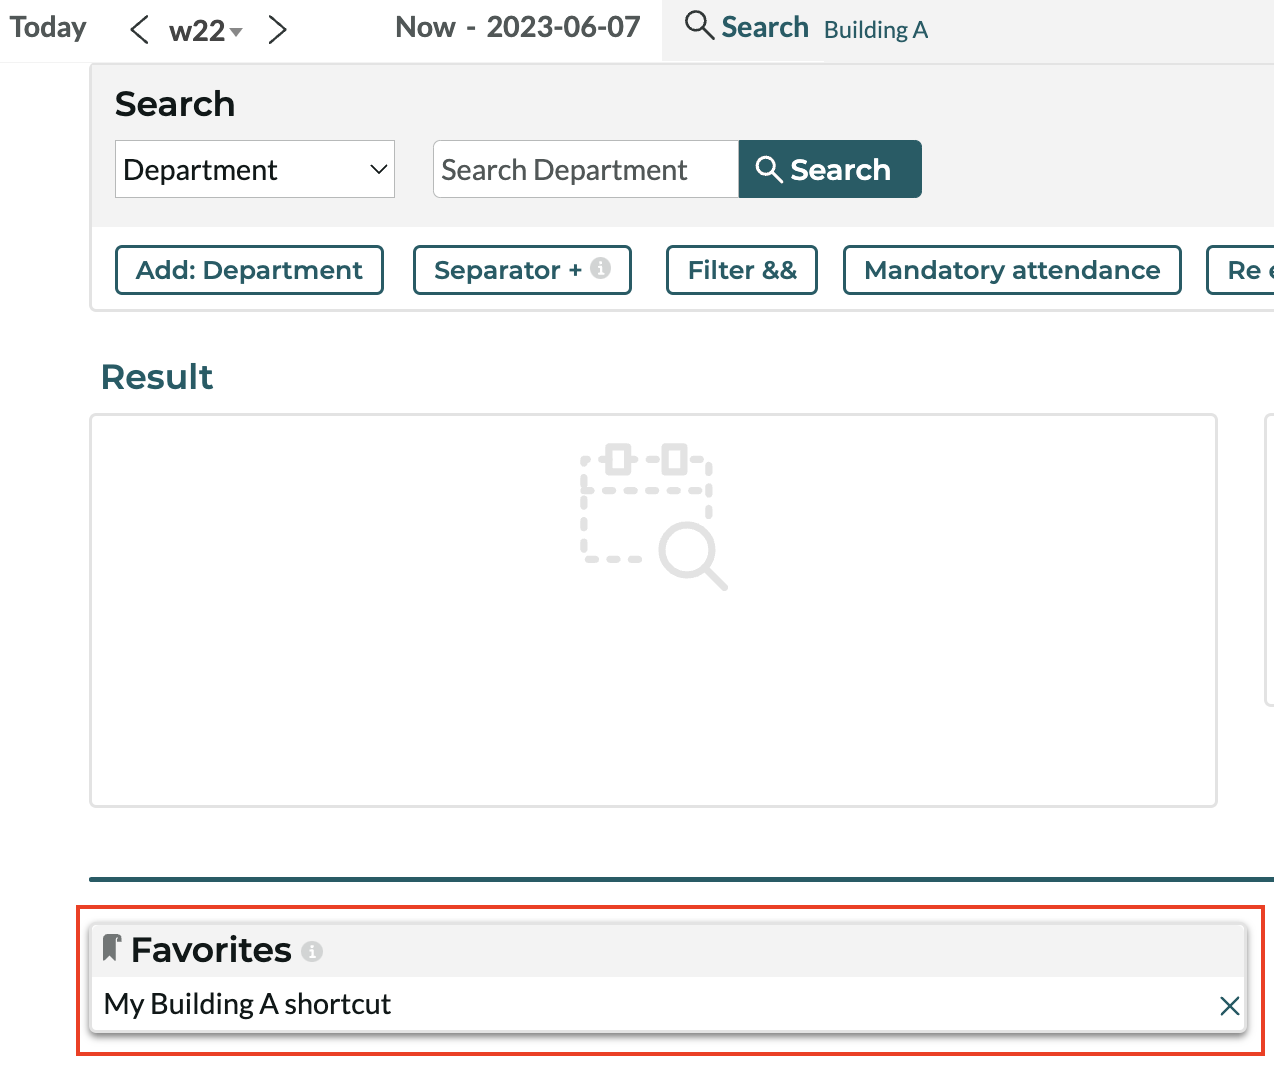
If you have multiple saved favorites, you can reorder them by dragging and dropping. You can also remove the favorites you no longer need by clicking the X icon to the right.