Introduction to the Group Manager
The general concept
The list in the Group Manager is a grouping of Activities that share Primary Object and Activity Type. Each row in the list represents all activities with that particular Primary Object and Activity Type.
(Activity Type is the kind of activtiy, like Lecture or Tutorial. They can be either generic and reused between Primary Objects, or unique for each Primary Object, depending on the data model configuration)

So the first row in the image above represents all Activities for the Course event "SI2510-1 (HT21)" and the Activity Type "ÖVN". There is also information about how many Tracks there are for this combination.
(When an activity is divided into multiple tracks, it means that it will be held multiple times for different student groups)
So if the Course event "SI2510-1 (HT21)" is running for 12 weeks, with one "ÖVN"-activity each week and there are 5 Tracks, the row will represent 12 x 5 Activities, i.e. 60 Activities.
The labels shown for the Course event (Primary Object) and Activity Type in the list is fetched from the field that is specified as the first column in the Object List in TE Core for that Type.
The toolbar

Selection

This indicates how many rows have been selected. This can be useful to know when selecting "All" and there are multiple pages. Then this will indicate the total number of rows any Action will be performed for.
Group type

This is the type you either want to create objects for or allocate existing objects to activities
From the dropdown, it is possible to select any object type that is included in the Activity mapping in the Activity Designer. It is also possible to select sub types of any object type that is mapped in the Activity Designer. This can be useful if you want to create or allocate only Group objects to certain Activities, rather than all objects including Full Class Objects.
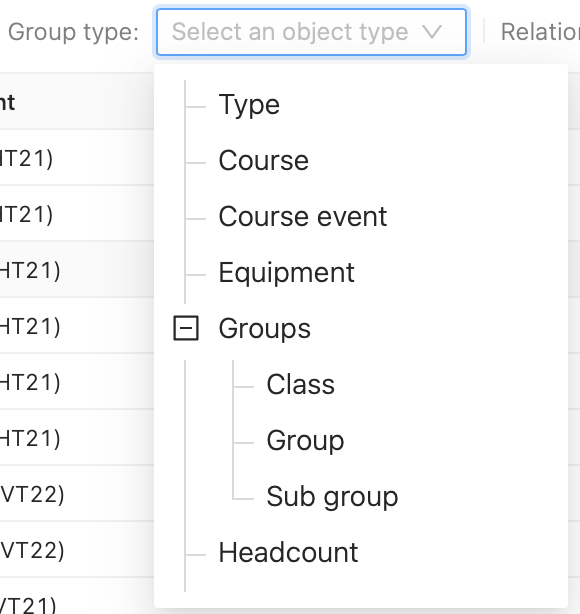
When selecting a group type, related objects are shown for each row under the "Group" column, listed as "Unallocated".

Relation type
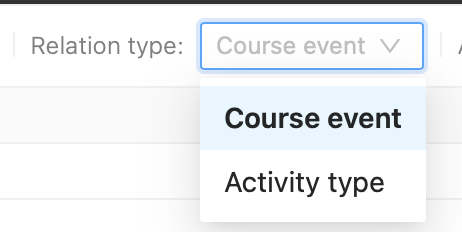
When selecting a "Group type" all objects related to either the Primary Object (e.g. Course event) or the Activity Type will be displayed in the list. Select "Relation type" to decide which.
Actions

The actions are performed on the selected items in the list. If your borowser window is small enough, the actions will be placed a small dropdown menu.
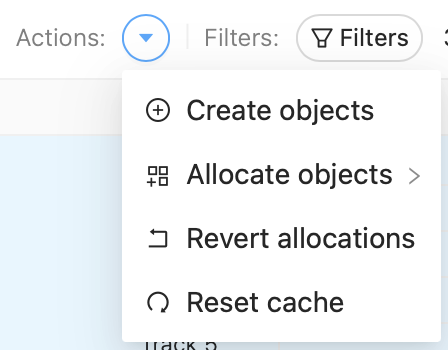
Create objects
This allows you to create new objects based on the selected items in the list
Allocate objects
This option will allocate objects to the activities represented in the list
Revert allocation
This action will reset the allocation to the originally submitted values, or simply remove any allocation.
Note that this action will reset all objects of the parent type, regardless if you select a sub type in the "Group type" dropdown, or not.
Reset cache
This action will simply re-fetch all objects and make sure that any updates from other systems, the Java Client or TE Core will be available
Filters

This is used to filter Activities similarly to how it is done on the Activities tab. It will display the number of rows returned when a filter is applied.
Create Objects
Create objects of the selected "Group type", that will become related to the selected Primary Object or Activity Type. When selecting one or multiple rows in the list and clicking Create objects, a dialog appears asking if you want to create one object for each "Relation type" object or one object for each Track.

Selecting "One per relation object" will create one object for every unique Relation object (Primary Object or Activity Type) selected in the list. Use this if you want to create a full class student group, or course pathway, that should be assigned to all activities.
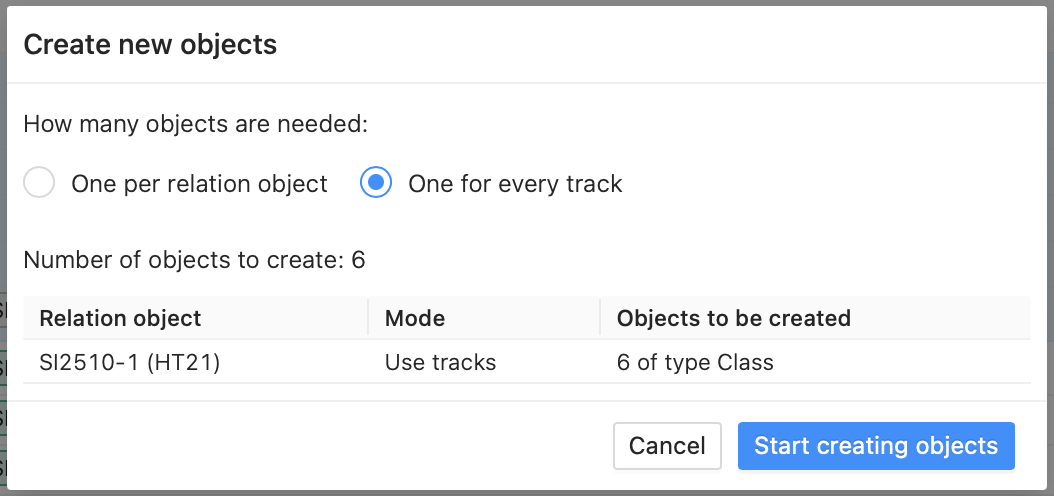
Selecting "One for every track" will create one object for each track available in the Relation object. Use this option if you want to create individual student groups for each track.
Note: If the selected Relation type is Primary Object, the maximum number of tracks available in that Primary Object will be used. For instance, if there are two Activity Types (Lecture and Tutorial) for the selected Course event (Primary Object), and there is 1 track for the Lecture and 5 tracks for the Tutorials, 5 objects will be created, regardless which row is selected in the list.
Clicking "Start creating objects" will open a Dialog in TE Core with options to create the objects
Create members and related objects
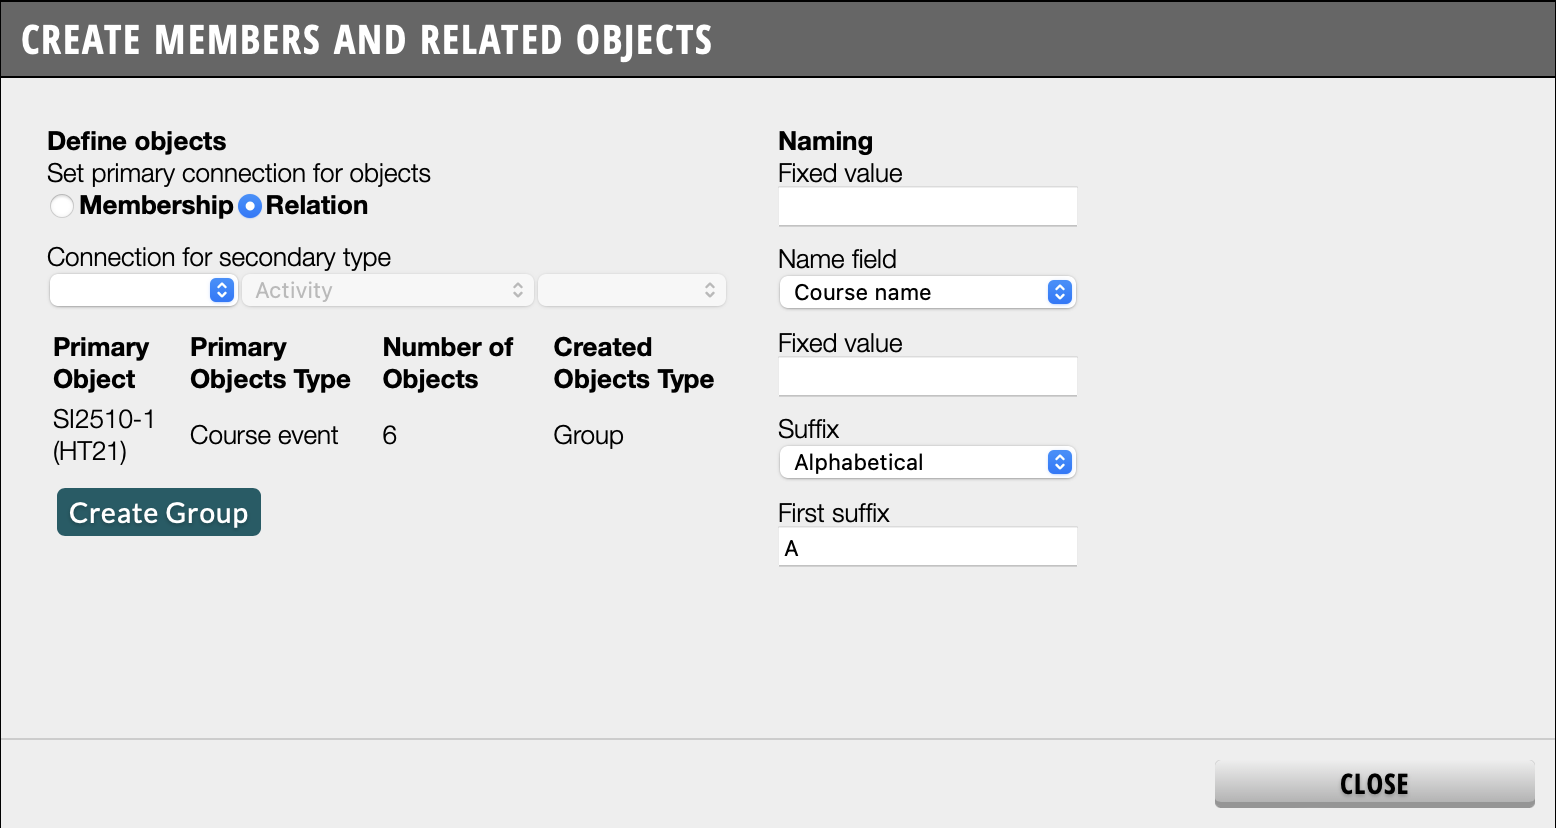
Set primary connection for objects
This selection will determine the kind of connection the new objects will have to the Relation type objects selected in the Group Manager. The data model used will decide which option here is the appropriate one.
Membership: The newly created objects will become members of the Relation type objects
Relation: The newly created objects will be related to the Relation type objects
Connection for secondary type
The first and third dropdown has the option of selecting Membership or Relation. The first indicates what connection to look for, the second which conenction to create.

The three dropdowns, in combination, should be read like this:
For the new objects that we are creating, for any Related object (or object with Membership) of the Specified Type, also create a Relation or Membership to the Primary Object or Activity Type.
If multiple objects have a relation to, or is a member of, the Relation type, the new objects will become a member of, or get a relation to, all of them
Naming
These fields will determine a naming pattern to apply to the new objects. This name will become the ID, External ID and the Name of the new objects.
The name of the new objects will be like so: <Fixed value><Name field><Fixed value><Suffix>
Fixed value: A static prefix before each nameName field: Pick a field from the Relation type object that will be inserted into the name
Fixed value: A static text inserted after the Name field.
Suffix: Decide on a suffix, either Alphabetical, Numerical, or No suffix. This will be increased for each new object, like, 01, 02, 03 etc
First suffix: If alphabetical or numerical, which is the first value that the series will start with. If entering 05, the next value will be 06, etc.
Create Objects
Click the green Create <Objects> button to create the desired objects
Allocate Objects
This action will allocate the related objects to the activities for each row selected. Allocating objects in the Group Manager is the same thing as manually selecting objects for Activities in the Activity list, but can be performed in bulk for different objects.

There are two ways of allocating objects: "Distribute objects across tracks" and "Allocate all related objects to all tracks".
Distribute objects across tracks
The first option will distribute the related objects equally across the tracks. The distribution is performed alphabetically.

This is typically used for Student Groups that needs to participate in different tracks.
If there are more objects than available tracks, the first tracks will be filled up first:

Allocate all related objets to all tracks
The second option will allocate all available objects to all tracks.

Note
When allocating objects, previous alloctions of the same type (or sub-type) for the selected objects will be reset.


